Most car paint touch up tutorials make it look easy. Dab some paint, let it dry, done. Then you try it yourself, and the result looks worse than the chip you started with.
The truth is that paint touch-ups aren’t technically difficult, but they are detail-sensitive. Small mistakes compound. If you want a result that actually blends and holds, you need to understand a few things that most quick guides skip entirely.

Why Touch-Up Paint Fails So Often
The Underlying Problem — Paint Codes and Mixing
Every car has a specific paint code. It’s usually found on a sticker inside the driver’s door jamb or in the glove box. If you don’t use the exact code, the color won’t match — even if it looks close in the bottle. Colors change slightly under different light conditions, and a slight mismatch becomes very obvious once dried.
Even with the correct code, factory paint has often faded slightly over the years. A brand-new paint match on a ten-year-old car will look fresh against weathered surroundings. This is why professional touch-ups sometimes involve blending into adjacent panels rather than spot-matching alone.
Surface Preparation Is Where Most People Cut Corners
Applying touch-up paint over a dirty, oily, or uneven surface guarantees a bad result. The chip needs to be clean — free of dirt, rust, and loose paint. Light sanding around the edges with ultra-fine sandpaper helps the new paint adhere and feather into the existing surface.
If there’s any rust present, even light surface oxidation, it needs to be treated before paint goes on. Rust will spread under touch-up paint if ignored, lifting the new layer within months.
The Right Tools for the Job
Most people reach for the bottle that comes with a brush applicator. That’s fine for very small chips, but anything larger benefits from a different approach.
Touch-Up Paint Pens vs. Brush Bottles vs. Spray
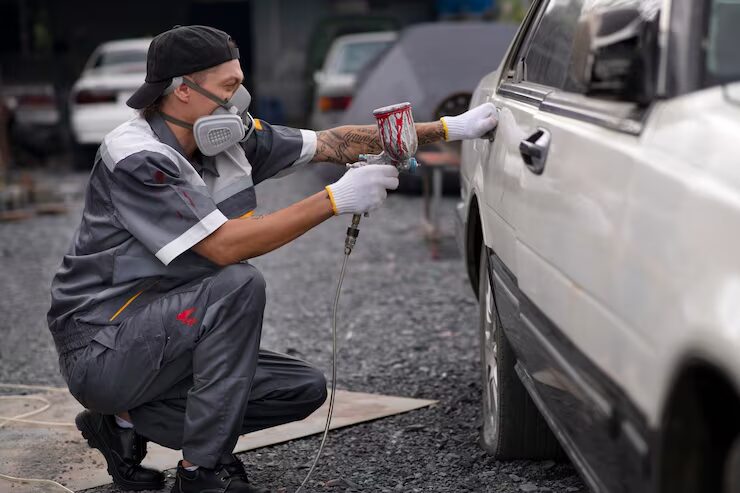
Touch-up pens offer more control for hairline scratches and small chips. Brush bottles work for slightly larger areas where you need more coverage. Rattle cans (spray) are better for larger repair areas but require masking and more prep — and they deposit more material than most touch-ups need.
For most people dealing with typical door dings and stone chips, a quality brush bottle with the correct color code is the right tool. Apply in thin layers, let each layer dry fully before adding another, and don’t try to fill the chip in one pass.
Knowing When to Go Professional
Size and Depth Matter
If a chip has gone through the clear coat, base coat, and primer all the way to bare metal, a DIY touch-up will buy you some time but won’t fully restore the finish. Same goes for anything longer than an inch or in a highly visible area — hood center, A-pillars, roof.
Body shop work becomes worth the cost when the damage is too large or too deep for a touch-up to hold cleanly. A professional respray of a panel, properly blended, will look indistinguishable from factory.
Protecting the Paint After Touch-Up
Once your car paint touch up has fully cured — usually 30 days for complete hardening — applying a layer of wax or paint sealant over the repaired area adds protection. Ceramic coatings applied over repaired sections offer even longer-lasting protection, especially in regions with extreme heat or UV exposure.
Pairing paint care with UV protection from Ceramic window tint is a natural combination — reducing the sun’s impact on both the interior and exterior of the vehicle simultaneously. Resources like Shady Stint connect these threads for car owners who want protection that works from every angle.
Maintenance After Touch-Up
Avoid automatic car washes with brushes for at least a month after a touch-up. The mechanical abrasion can lift or mar the new paint before it has fully hardened. Hand washing with a gentle soap and microfiber mitt is the safer choice during that period.
Conclusion
A car paint touch up done correctly is invisible. Done carelessly, it draws attention to exactly the damage you were trying to fix. The difference usually comes down to preparation, the right paint code, thin layering, and patience. Get those right, and you’ll extend your car’s finish for years without ever having to explain what happened.